May
12
2006
SEATS AND DECKS
The beach seats in Laker and Little Laker provide water tight storage and flotation but it’s important to keep the boat from getting too heavy, particularly with Little Laker. I used 6 mm on the seats in the original Laker but that is probably not strong enough in most cases so use 9 mm. In Little Laker use 6 mm but increase the number of deck beams. Because Little Laker is meant to be car-topped keeping the weight of the boat down is very important.
I used 5/8 X 3/4 cleats that I glued to the inside face of the bulkheads. I also struck a line on the hull by laying a straight edge on the top of the bulkheads. This gave me a reference point to place the deck blocks.
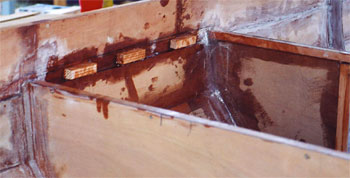
Now epoxy the deck beams to the under side of the cleats. I left enough space between the cleat on the bulkhead and the cleat for the hatch to slide the deck beam.
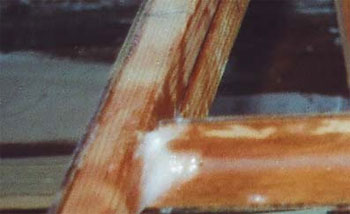
If you are using 6 mm for the seats then space the deck beams about 8 inches apart. With 9 mm seats, 4 deck beams or 12 inches apart will be plenty. On the forward deck, particularly if this will be used as a casting platform, be sure to space the deck beams close together…about 6 to 8 inches.
LOCKERS
The lockers are water tight but there needs to be a way for water in the front part of the boat to drain aft. I accomplished this by putting a tunnel through the locker. I have drilled a 1 inch hole in the bulkheads. A larger whole would work but be sure it doesn’t get into the hatch cleat. A rectangle could be put in the bulkhead before they went in the boat. If that is done just keep them free of epoxy when you put on the bottom.
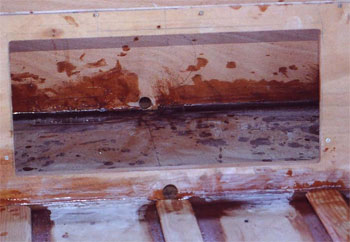
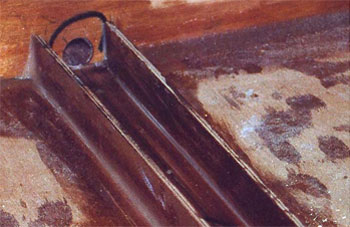
Once the epoxy has hardened put the top on the tunnel and epoxy it in place. Also, use plenty of peanut butter thick epoxy so you can be sure it will not leak water into the locker
Be sure that the top will fit between the bottom cleat on the hatch and the top of the tunnel. The time to work this out is not after the all the epoxy has set up.
HATCHES
I made the hatch size to accommodate the camping gear I’ll carry on Laker and Little Laker, but the size is not in concrete. Should you change the hatch size just check that the hatch cleats will work with that size.
I built the hatch frame work to the size I wanted plus the two thickness of 6 mm ply. That is I wanted a 9 X 20 hatch, so I built the inside of the frame to 9 1/2 X 20 1/2 — when I added the 2 pieces of 6 mm or 1/4 inch ply to each side I had a final inside dimension of 9 X 20. I built the frames after the boat was planked in and turned over. I epoxied them in place and cut the holes with a trim router. Again, the size is not important but you will be limited somewhat by the height of the bench and the fact that the bigger the hatch is the harder it will be to get it water tight.
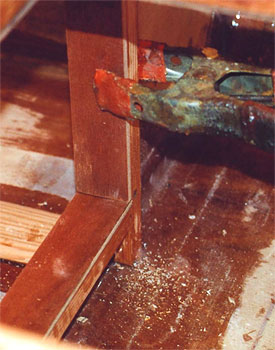
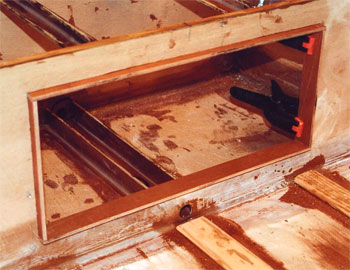
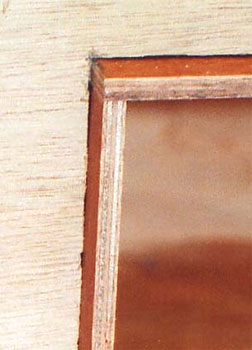
The hatch on the forward deck/casting platform was done before the deck was epoxied in place and has the same frame work as the hatches on the bulkheads. The hatches at the bow and transom are different. These areas didn’t need easy access so I used a lid screwed to the frame and gasket material.
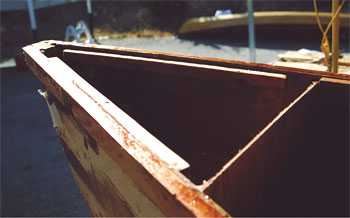
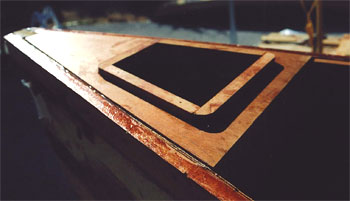
The lids were cut by screwing down a piece of 6mm and using a trim router and flush cut bit. The access hatches on the transom are done the same way and they hold the small dry cell batteries for the running lights and fish finder.


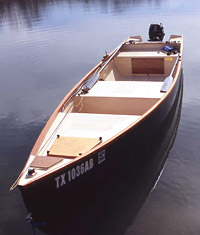
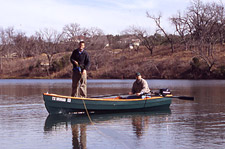 Here are some details about my latest boat,
 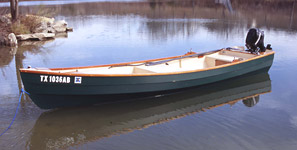 On her maiden voyage we took her to the Texas coast (Corpus Christi area) and she proved to be an excellent flats boat. Her very shallow draft (almost that of Flyfisher) and light weight, approximately 130 pounds without the motor, make her a dream to pole across the flats. Even in water less than 3″ she rides on her skegs and I was able to slide Laker across mud and sand without having to step out of the boat.